
We specialize in delivering professional and reliable tree care solutions tailored to meet your unique needs. Whether you’re searching for tree lopping services, expert arborists in Sydney, or efficient tree removal near you, our experienced team is here to help.
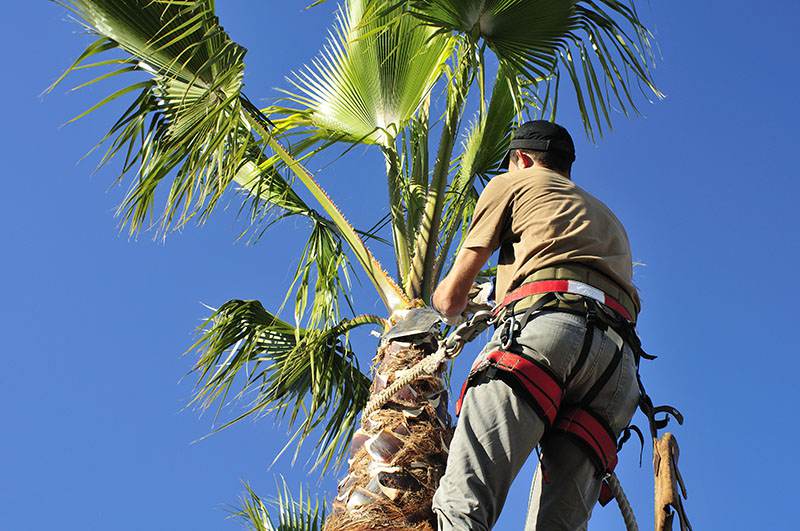
Our tree lopping services experts are equipped to reshape or remove overgrown or damaged branches, improving the structure and appearance of your trees while ensuring safety and health.
Enhance your tree’s health and aesthetics with our expert pruning. We offer competitive tree pruning costs, ensuring your trees are safe and vibrant without breaking the budget.
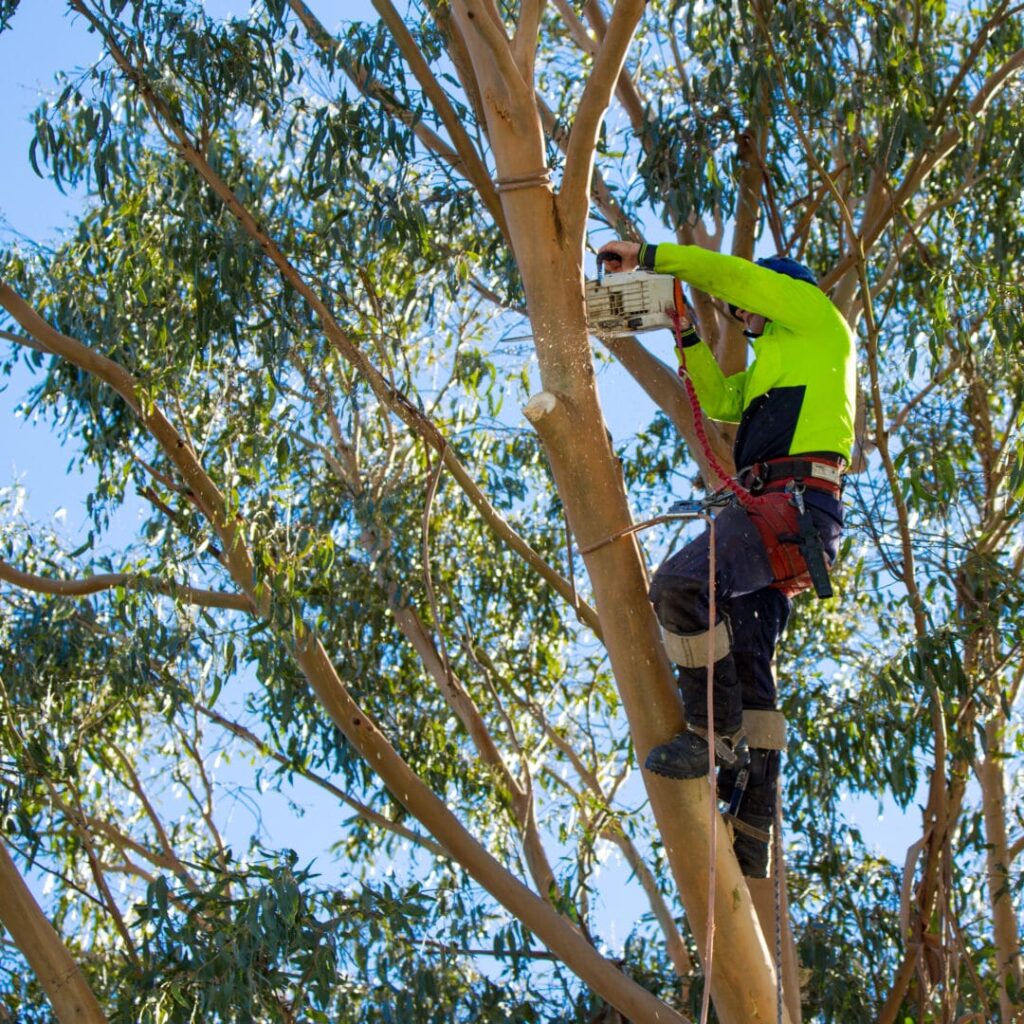
Whether you need to remove a hazardous tree or clear space for new projects, we provide efficient and safe tree removal services in Sydney, the Inner West, and the Central Coast.
Storm damage or unexpected hazards? Our emergency tree services provide quick and reliable solutions to protect your property from further harm.
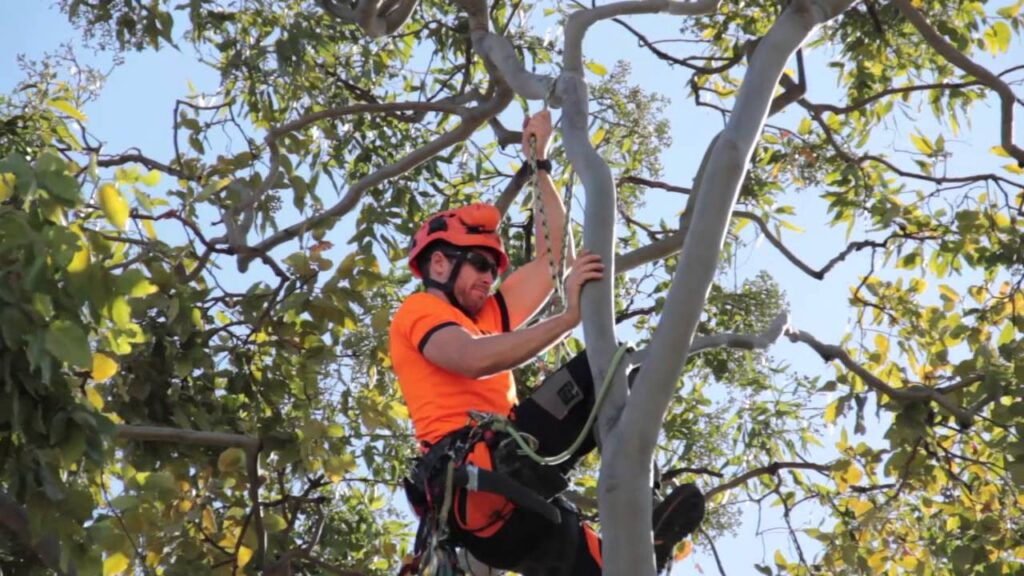
Our certified arborists offer professional tree care advice, inspections, and treatments to maintain the health of your trees. Trust us to diagnose and address tree health concerns effectively.
Let us handle the cleanup. Our green waste removal service ensures your property stays tidy after tree care projects.
Your trusted partner for professional tree care services. With years of experience and a passion for preserving nature, we are dedicated to providing exceptional solutions that ensure the safety, beauty, and health of your outdoor spaces.
Looking for reliable tree services near you? Trust Garden Mega Australia to handle your tree care needs with precision and care. Let us transform your outdoor spaces while ensuring safety and sustainability.